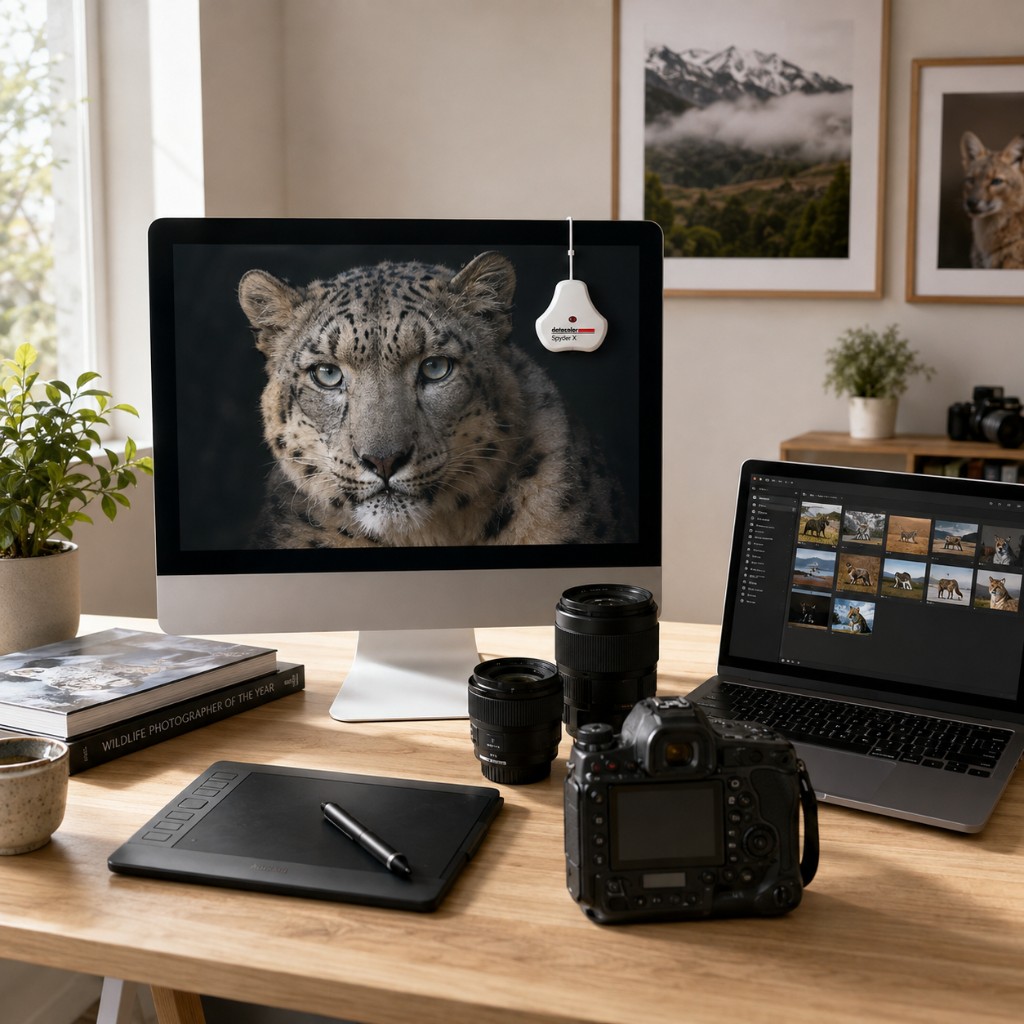
What is monitor calibration?
When we edit a photograph, we adjust the exposure, recover shadow details, refine the white balance and decide how warm, cool or saturated an image should feel. A screen that is too bright may cause us to produce photographs that look dark when printed. A screen with a strong blue or yellow cast can influence the white balance of an entire edit.
Monitor calibration is the process of measuring how your screen displays color, brightness and contrast, then correcting its output so that it follows a recognized standard. A Datacolor Spyder is a small color measuring device called a colorimeter. During calibration, it rests against the screen and measures a series of colored patches displayed by the Spyder software.
The software then creates a custom ICC display profile. Your computer and color managed applications use this profile to correct how colors and tones appear on your monitor. The process does not permanently alter your photographs, and the calibration can be removed or replaced whenever necessary.
Calibration cannot control every uncalibrated phone or screen, but it gives you an accurate reference from which to edit confidently
Why photographers should calibrate
Modern monitors are often designed to look bright, colorful and impressive in a showroom. That is attractive for films and browsing, but not always suitable for accurate photo editing. Even factory calibrated displays benefit from being calibrated for the room in which they are actually used. A properly calibrated monitor can help you achieve:
- More natural and dependable colours
- Neutral looking whites and greys
- Better visibility in highlights and shadows
- Greater consistency between editing sessions
- More predictable photographic prints
- Fewer unnecessary color and exposure corrections
It does not make every monitor identical, but it removes much of the guesswork from your editing process. The steps below follow the Spyder workflow; the exact names of buttons and settings vary slightly between SpyderExpress, Spyder, SpyderPro, Spyder X and Spyder X2 models, but the general process remains very similar.
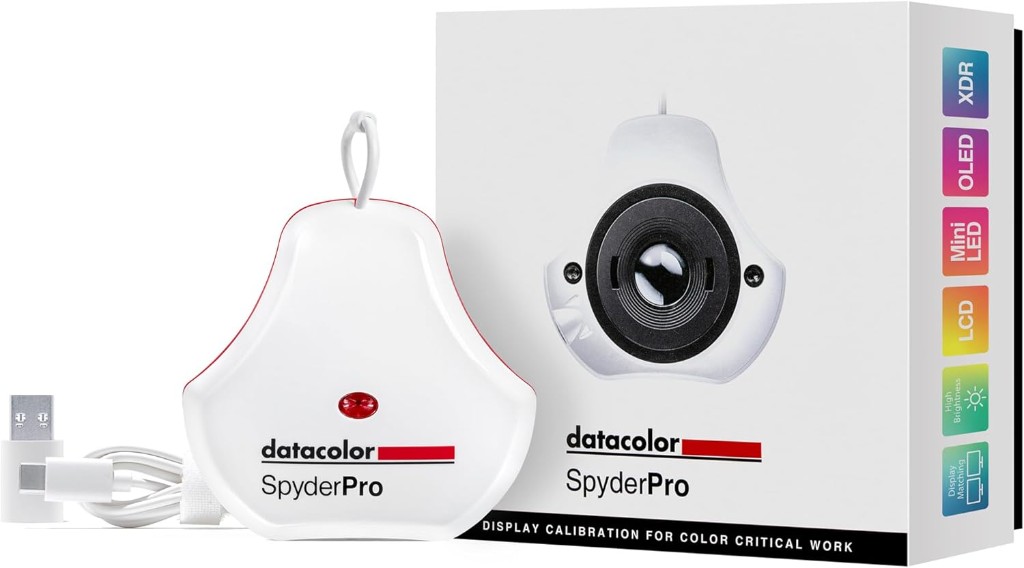 Buy the Spyder device
Before you begin
A good calibration starts before the Spyder is placed on the screen.
Allow the monitor to warm up
Turn on your monitor and leave it running for at least 20-30 minutes before beginning. A display may change slightly in brightness and color as it warms, so calibrating it immediately after switching it on may produce a less reliable result.
Use your normal editing environment
Calibrate the monitor under the same lighting conditions you normally use for editing. Keep the room lighting soft and consistent. Avoid direct sunlight falling on the screen, brightly colored lights and strong reflections. For serious color work, a stable and controlled room light is usually more valuable than an extremely bright room.
Disable automatic display adjustments
Before calibration, disable features that automatically change the brightness, contrast or color temperature of the screen. These may include:
- Automatic brightness
- True Tone on compatible Apple displays
- HDR mode (important to disable)
- Dynamic contrast
- Eye comfort or blue light modes
- Other automatic picture-enhancement settings
True Tone changes the color temperature according to the surrounding light, while HDR and similar dynamic functions can prevent the software from measuring stable color values. These features should also remain disabled while performing color critical editing, because switching them back on can change the appearance of the calibrated image.
Reset and clean the screen
For a first time calibration, Datacolor recommends returning the monitor controls to their factory defaults when possible. Do not reset a professionally configured monitor without first recording its current settings. Finally, remove dust, fingerprints and marks from the area where the Spyder will rest, and allow the screen to dry completely before continuing.
Software and setup
Step 1: Install the correct Spyder software
Datacolor provides different applications for different generations of Spyder hardware. Download the software that matches your exact model and operating system, install it, restart the computer when requested and connect the Spyder to a powered USB port. Whenever possible, connect the device directly to the computer rather than through an unreliable or unpowered hub.

Step 2: Choose the display you want to calibrate
Open the Spyder software and select the monitor you want to calibrate. This is especially important when two or more screens are connected; the calibration window should appear on the display currently being measured. Each screen should be calibrated separately, because two monitors, even identical models, can display color differently.
Step 3: Identify your display technology
Some Spyder versions ask you to select the monitor's display or backlight technology, such as Standard LED, Wide-gamut LED, Mini-LED, OLED or QD-OLED, or GB LED. Wide LED is generally used for wide gamut displays such as many Adobe RGB or Display P3 monitors, while Standard LED is normally associated with standard gamut screens. Check the monitor manufacturer's specifications rather than guessing.
Step 4: Tell the software which controls are available
The software may ask which physical or on screen controls your monitor provides: brightness, color temperature presets, individual red, green and blue controls, or contrast. Select only the controls that are genuinely available. Laptop displays often provide brightness adjustment but no manual RGB or color temperature controls.
Step 5: Choose your calibration targets
Advanced Spyder models provide several custom settings, while simpler versions select most of them automatically. For a beginner photographer working with standard photography, web and print workflows, the following values provide a sensible starting point.
The normal choice for modern Windows and macOS photography workflows, used with both sRGB and Adobe RGB content.
Sometimes shown as D65. The standard starting point for photography and web work; lower is warmer, higher is cooler.
Follow the software's room-light recommendation. 120 cd/m² is a widely used starting point for print work.
Brightness deserves special attention
When the monitor is excessively bright, we tend to darken our images to compensate. They may look acceptable on the screen but appear unexpectedly dark when printed. A dim editing room may require a lower value, while a brighter working environment may require a higher one. The objective is a comfortable match between the monitor and the lighting around it.
Full calibration or recalibration
Choose FullCAL or full calibration when calibrating the monitor for the first time, after changing important settings or after making major changes to the editing environment. Use ReCAL for routine recalibrations when the basic setup remains unchanged. Some software versions also provide CheckCAL, which checks whether the existing calibration is still accurate.
Running the calibration
Step 6: Measure the room light
Spyder models with an ambient light sensor may offer to measure the light around your workstation. Place the Spyder on top of your desk and allow it to read the room. The software may then recommend a suitable monitor brightness or warn you when the lighting conditions change significantly.
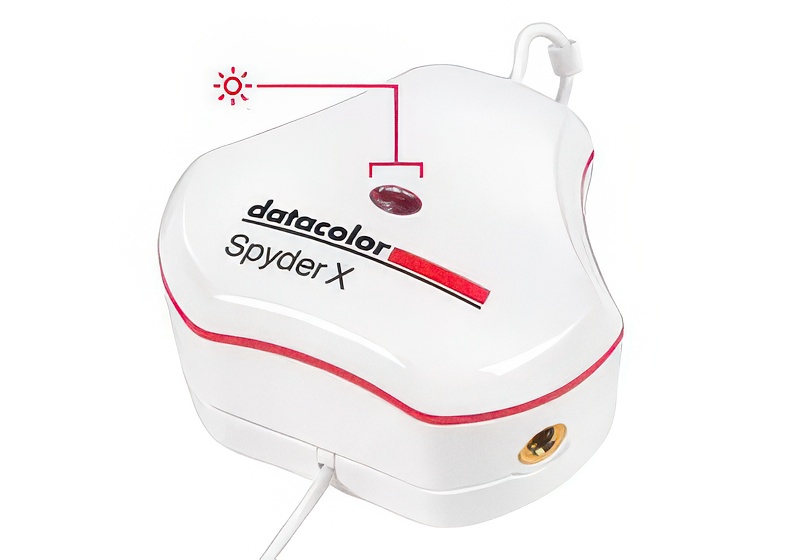
Step 7: Position the Spyder on the screen
Remove the sensor's protective cap when instructed. The cap normally slides along the cable and acts as a counterweight behind the monitor. Place the sensor inside the outline shown by the software. Tilt the monitor slightly backwards when necessary so that the Spyder rests flat against the display; there should not be a visible gap between the sensor and the screen. Avoid pressing the device forcefully against the panel.
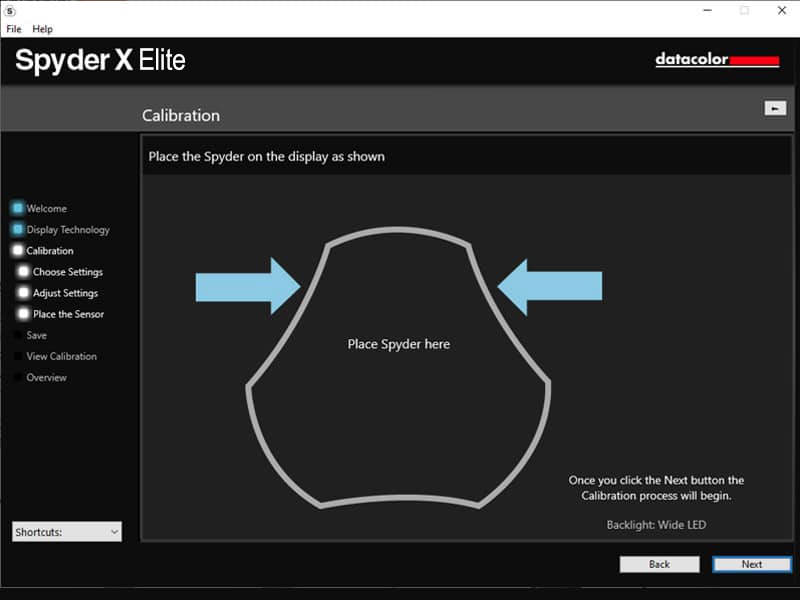
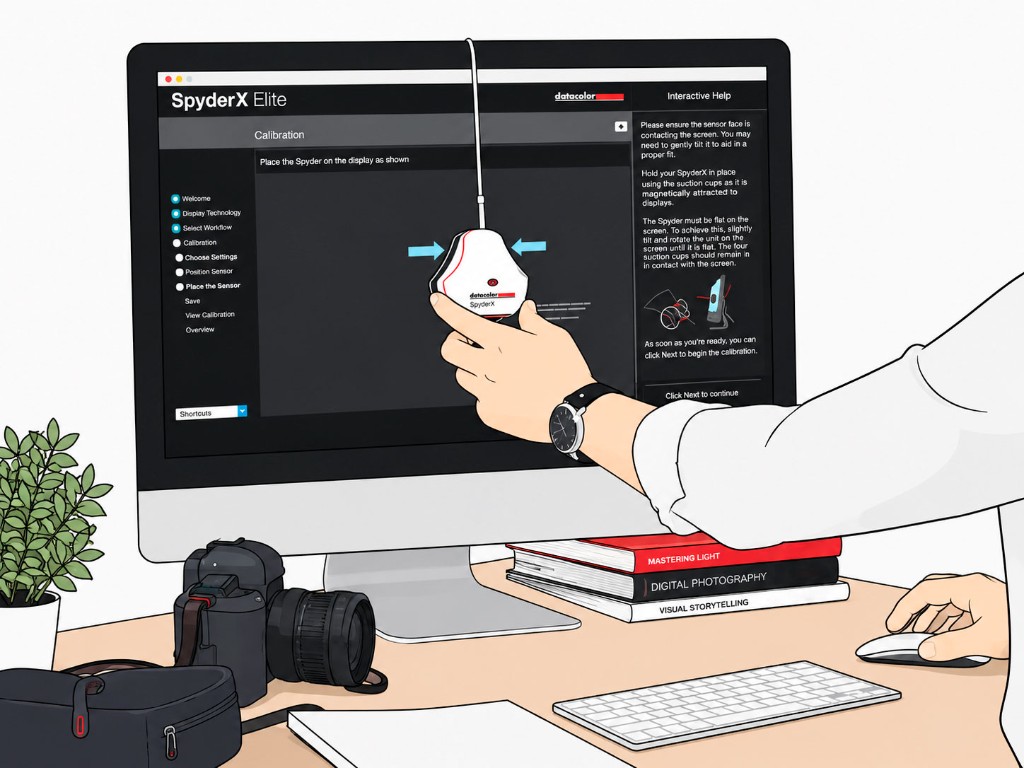
Step 8: Adjust the monitor brightness
During the calibration, the software may pause and ask you to adjust the screen brightness. Use the monitor's physical controls, on-screen menu or laptop brightness keys, and move the measured value as close as possible to the target shown by the software. Some newer Spyder software measures these changes continuously, while older versions may require you to press an update button after each adjustment.
Step 9: Let the Spyder measure the color patches
The software will display a sequence of colors, greys, whites and blacks. The Spyder measures the actual light produced by the monitor and sends the results back to the software. During this stage:
- Do not move the sensor
- Do not change the room lighting
- Do not adjust the monitor
- Avoid using the computer for other work
- Do not allow another window to cover the measurement area
Once the measurements are complete, remove the Spyder when instructed.
Step 10: Save the ICC profile
The software will create and activate a custom ICC monitor profile. Give the profile a clear name that includes the monitor and calibration date, for example BenQ-SW270C-D65-120-August-2026. A descriptive name makes it easier to identify the correct profile later, particularly when multiple displays are connected.
The operating system should automatically load this profile, and color managed programs such as Adobe Photoshop and Lightroom should use it when displaying photographs.
Do not select the monitor profile as the editing color space inside Photoshop. Keep working in Adobe RGB, ProPhoto RGB or sRGB
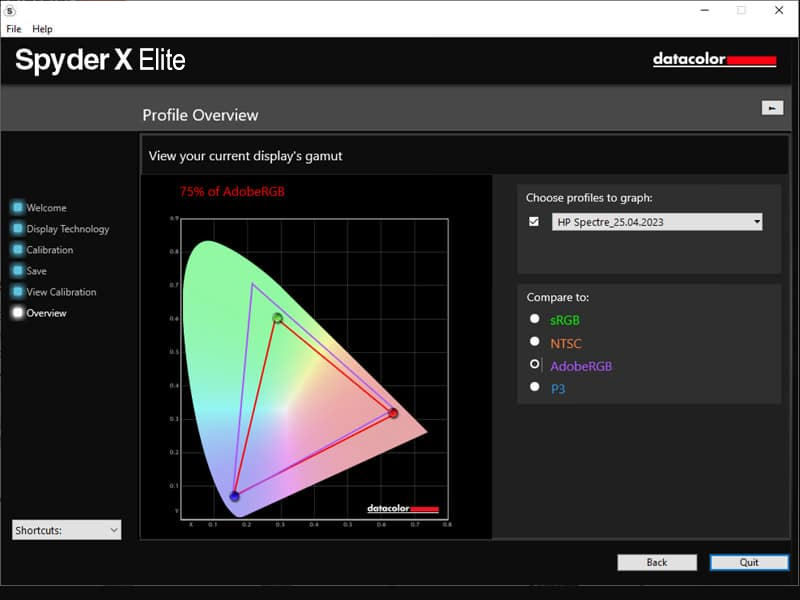
Step 11: Compare the before and after views
Most Spyder software includes a comparison view that allows you to switch between the original and calibrated display. The calibrated screen may initially appear less bright, slightly warmer, less saturated, more neutral, or softer in contrast. This does not necessarily mean that something went wrong.
Give your eyes some time to adapt before judging the result. Instead of choosing the version that looks most dramatic, look for natural neutrals, visible shadow detail and balanced color.
How often should you recalibrate?
Monitor performance changes gradually over time, and the viewing environment may also change. A practical routine is to recalibrate every 4 to 6 weeks, as well as:
- Before editing an important photographic series
- Before preparing images for an exhibition or competition
- Before ordering important prints
- After changing the room lighting
- After moving the computer to another location
- After resetting or updating major display settings
Datacolor's current guidance recommends recalibrating at least once a month, and more frequently before color critical work or when the lighting conditions change. Set a reminder inside the Spyder software so that calibration becomes a normal part of your photography workflow.
Common calibration mistakes
Calibrating in direct sunlight
Strong light falling on the screen can affect both the measurement and your visual judgement. Close blinds or calibrate at a time when the room lighting is stable.
Leaving automatic brightness enabled
The screen may change after calibration, making the new profile less dependable.
Selecting the wrong display technology
Choosing an incorrect backlight type can reduce the accuracy of the measurement. Check the monitor specifications whenever possible.
Making the monitor too bright
A very bright monitor may make printed photographs appear darker than expected. Start with the Spyder recommendation or approximately 120 cd/m² for a controlled print-editing environment, then refine it based on real print comparisons.
Changing the screen settings afterwards
Changing brightness, colour temperature, contrast or RGB controls can invalidate the existing calibration. Recalibrate after making significant display adjustments.
Expecting calibration to fix every printing problem
Monitor calibration is only one part of a colour-managed printing workflow. The printer, ink, paper, editing colour space, export settings and printer profile also affect the final result. A calibrated screen gives you a trustworthy starting point, but accurate printing also requires the correct ICC profile for the printer-and-paper combination.
Final thoughts
Monitor calibration may sound highly technical, but the Spyder software handles most of the complicated work. For a beginner, the most important steps are simple: prepare a stable editing environment, warm up the monitor, disable automatic display adjustments, choose sensible calibration targets, position the sensor correctly and allow the software to create the ICC profile.
The greatest benefit is not brighter color or a more dramatic image. It is confidence. When your screen becomes a dependable reference, you can spend less time questioning your equipment and more time concentrating on the photograph itself, its atmosphere, detail, light and story.